Own API | Perplexity


Owning an API service can lead to a lot of features and benefits. Imagine that you have shortcuts for your endpoints and anytime you want to save an image, you just post it to the endpoint and save it on your server.
A more advanced way of using it is to gather knowledge from different sources and use it in conversations with AI. How to achieve that?
You can write a simple script in nodeJS, deploy it, and use an endpoint to save context for your future chats with AI. This context can be saved in a Vector Database with proper metadata so that it can lead to amazing results. However, let's leave the topic of vector databases to the future newsletter, and for now, let's see how to build our own API with code (node.js app).
How to build your API?
Let's see how to build an API service using node.js and its own server.
📌 First Step: Buy a server service
It is an easy step, you just need to decide which provider to use and how big storage or RAM you need.
📌 Second Step: Set up the server
- For a physical server: Install the operating system and configure network settings.
- For a cloud server: Choose your desired configuration (CPU, RAM, storage, etc.) and launch the instance. Cloud providers typically offer a web interface for this.
📌 Third Step: Obtain Server Access Information
- For a physical server: You need the server's IP address and a user account.
- For a cloud server: The provider will give you an IP address. You might also receive a private key file for SSH access (especially in AWS).
📌 Fourth Step: Connect to the server using SSH
For example, if your server's IP is 192.168.1.1 and your username is admin, the command would be:
ssh admin@192.168.1.1
Log in with your password from credentials.
📌 Fifth step: Install dependencies
Install Docker, PostgreSQL, and anything you need for your app.
sudo sh -c 'echo "deb http://apt.postgresql.org/pub/repos/apt $(lsb_release -cs)-pgdg main" > /etc/apt/sources.list.d/pgdg.list'
sudo apt-get update
sudo apt-get -y install postgresql
📌 Sixth step: Add the user
This step is the clean way of handling deploys. If you do everything from root, there can be a mess that will be difficult to fix. That is why we created a deploy user and added him admin privileges.
adduser deploy
usermod -aG sudo deploy
Login from new user (change username to deploy or the one you typed, and the server ip):
ssh deploy@192.168.1.1
📌 Seventh step: Install nodejs nginx and git as deploy user

📌 Eightf step: create an apps directory and clone the repo
mkdir apps
cd apps
If you have a private GitHub repo, you need to generate SSH keys and paste them into GitHub repo settings.
ssh-keygen -t ed25519 -C "<your mail on github>"
cat /home/deploy/.ssh/id_ed25519.pub
Paste the generated key in the GitHub settings

Clone repo and install dependencies:
git clone git@github.com:<your account and repo nam>.git
npm i
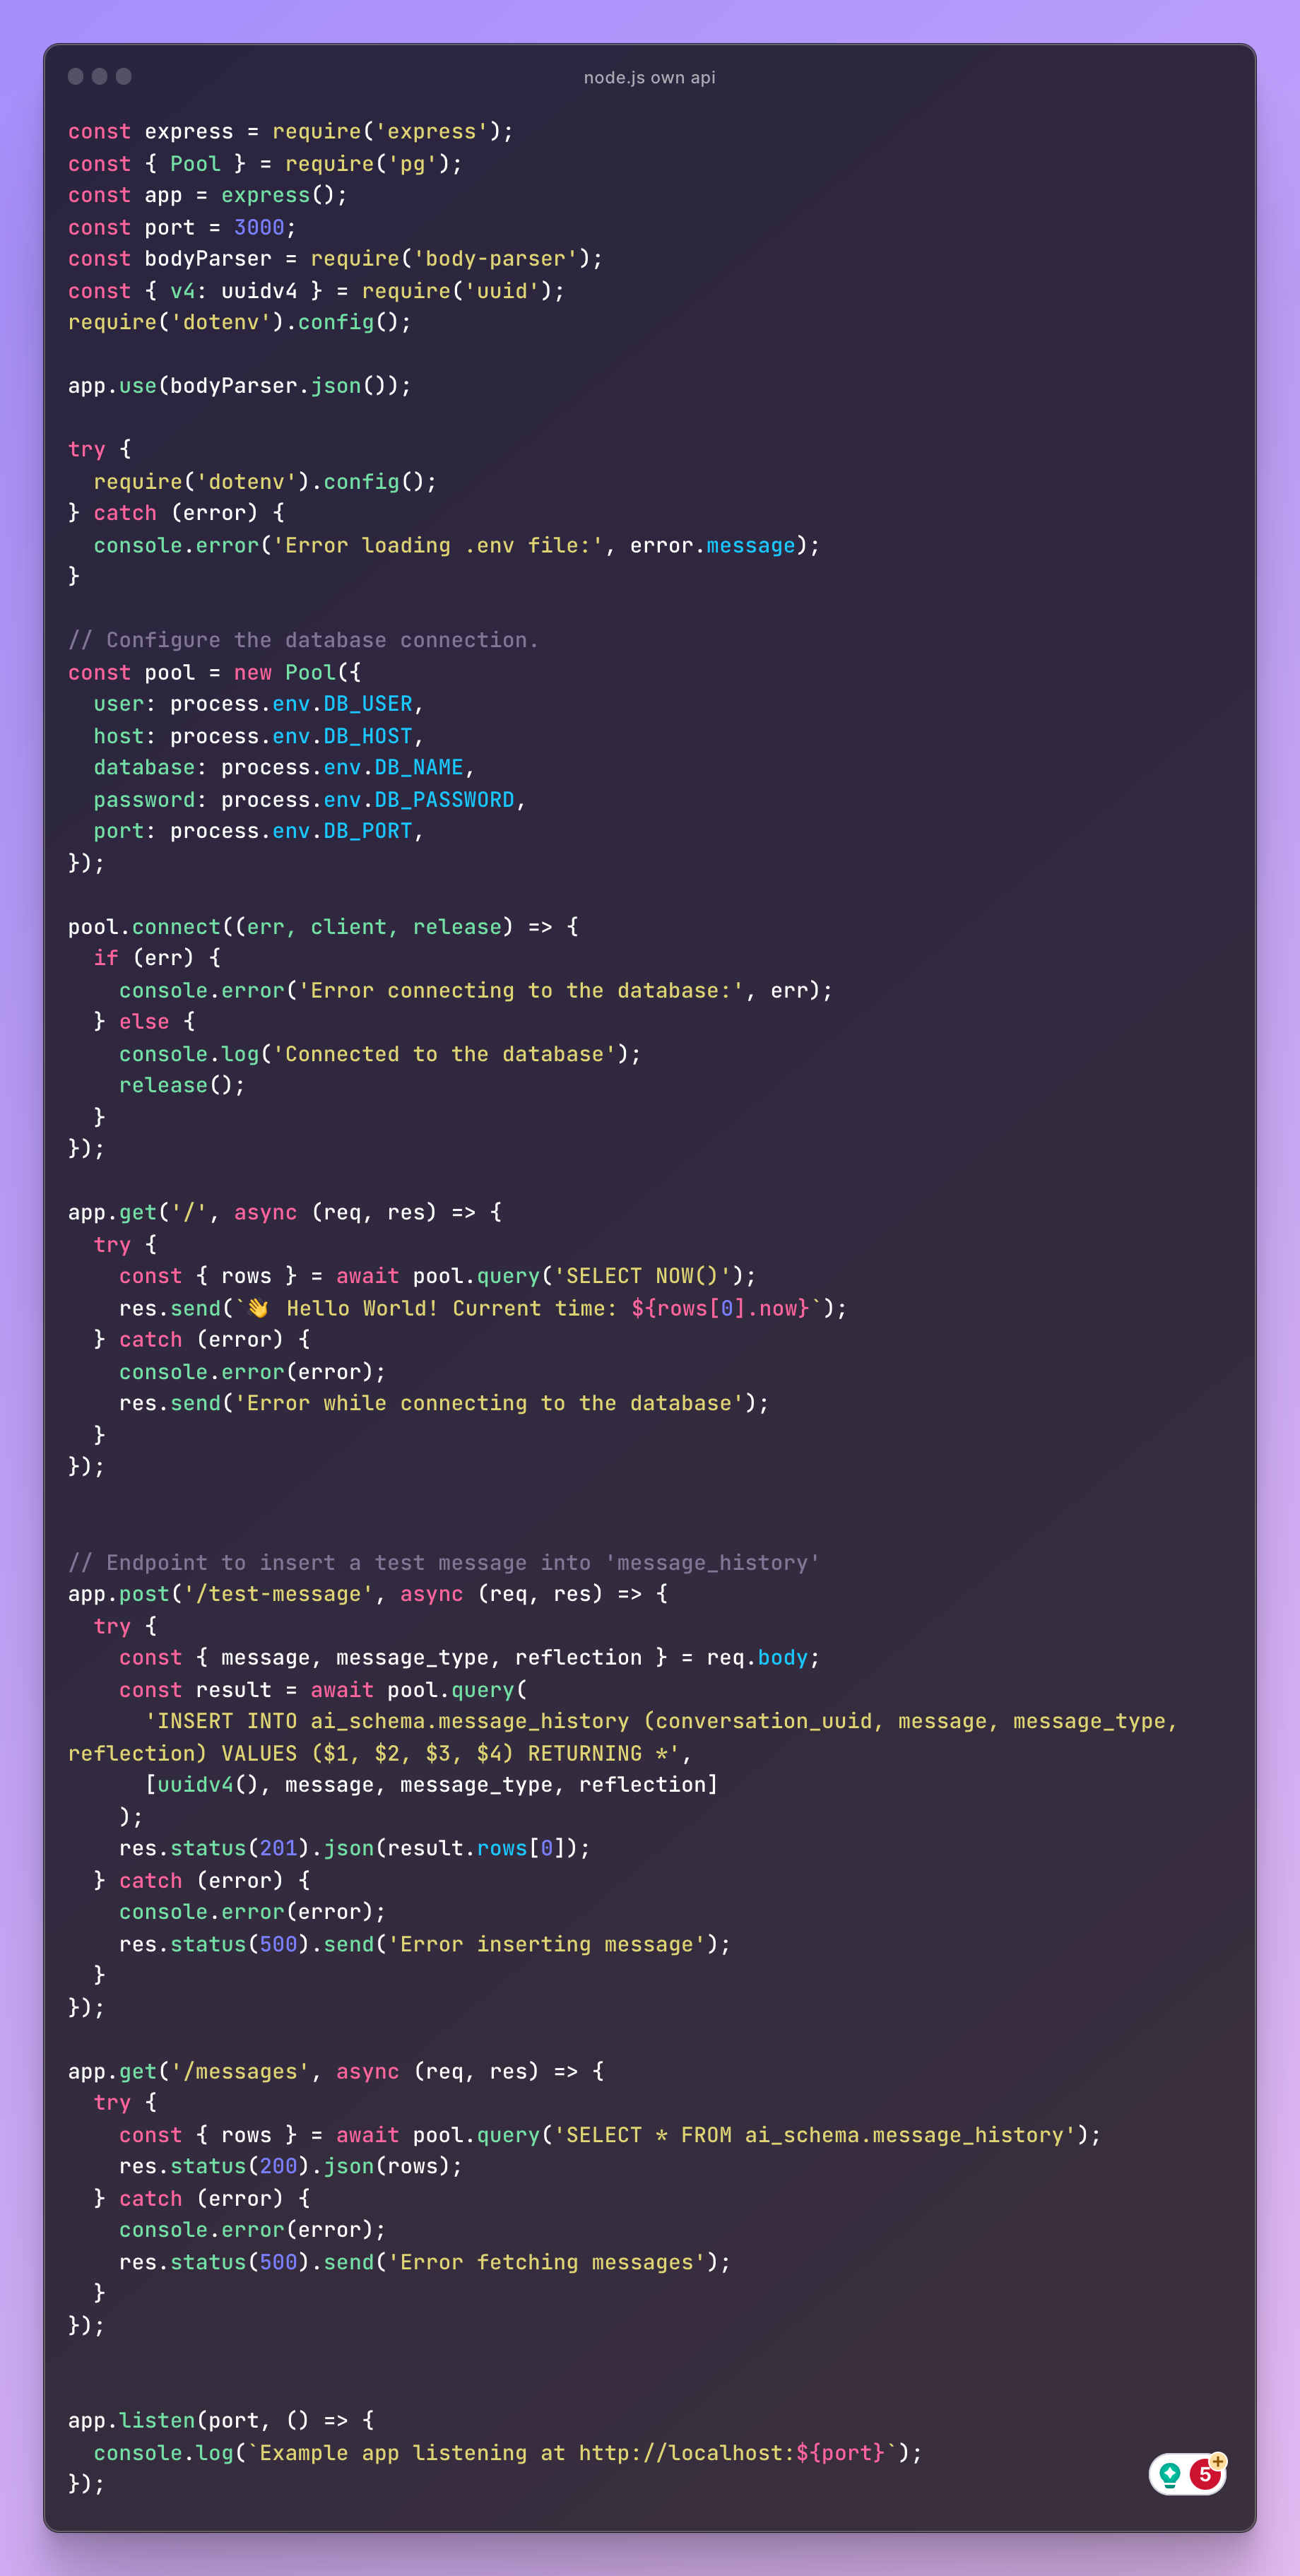
Example of node app, with simple endpoints - prepared for future AI assistant development.
📌 Ninth step: nginx config and starting app
sudo npm install pm2@latest -g
Install PM2, which is a process manager for Node.js applications, which helps in managing and keeping your application online.
pm2 start app.js
This command is used to start an application with PM2.
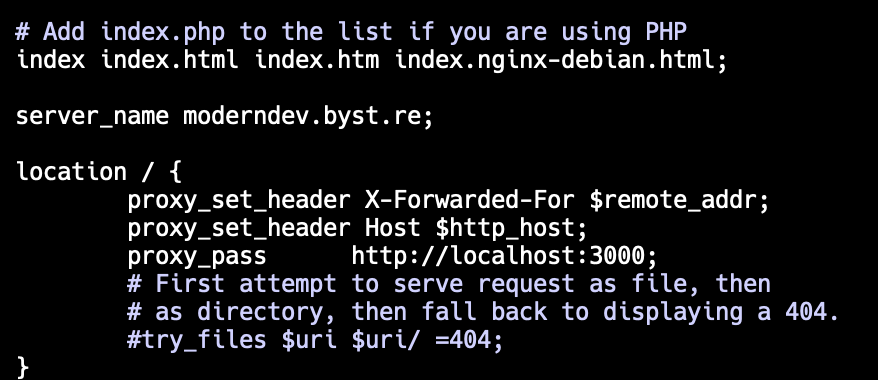
sudo nano /etc/nginx/sites-enabled/default
Screenshot 2024-01-17 at 14.52.57
Open a text editor in Unix/Linux systems. It's being used here to edit a file.
sudo /etc/init.d/nginx reload
This command reloads the NGINX server, applying any changes made to its configuration files (like the one you edited in the previous step)

Every update is pretty easy, you just need to pull changes in the project directory on the server, install dependencies, and restart pm2:pm2 restart app.js
Env variables:
In this scenario, you also need to add a .env file to the server. Inan the easiest way, in a project directory, just run:mkdir .env
vim .env
Paste in an editor the variables from the local environment and save changes. Then restart pm2.
...
If you have problems, you can ask a question on moderndev discord channel:
https://www.moderndev.io/team
Latest YouTube video
Last week posts
https://www.instagram.com/kacper.hernacki/p/C2M9DwENo0n/
https://www.instagram.com/kacper.hernacki/p/C2H1FZjNa-v/


Tools of the week
If you are wondering, whether the idea you want to implement is done by someone else, this aggregator can save you time and allow you to check it.

Probably a better option than chatGPT, I am testing it in the context of coding assistant with next.js 14.
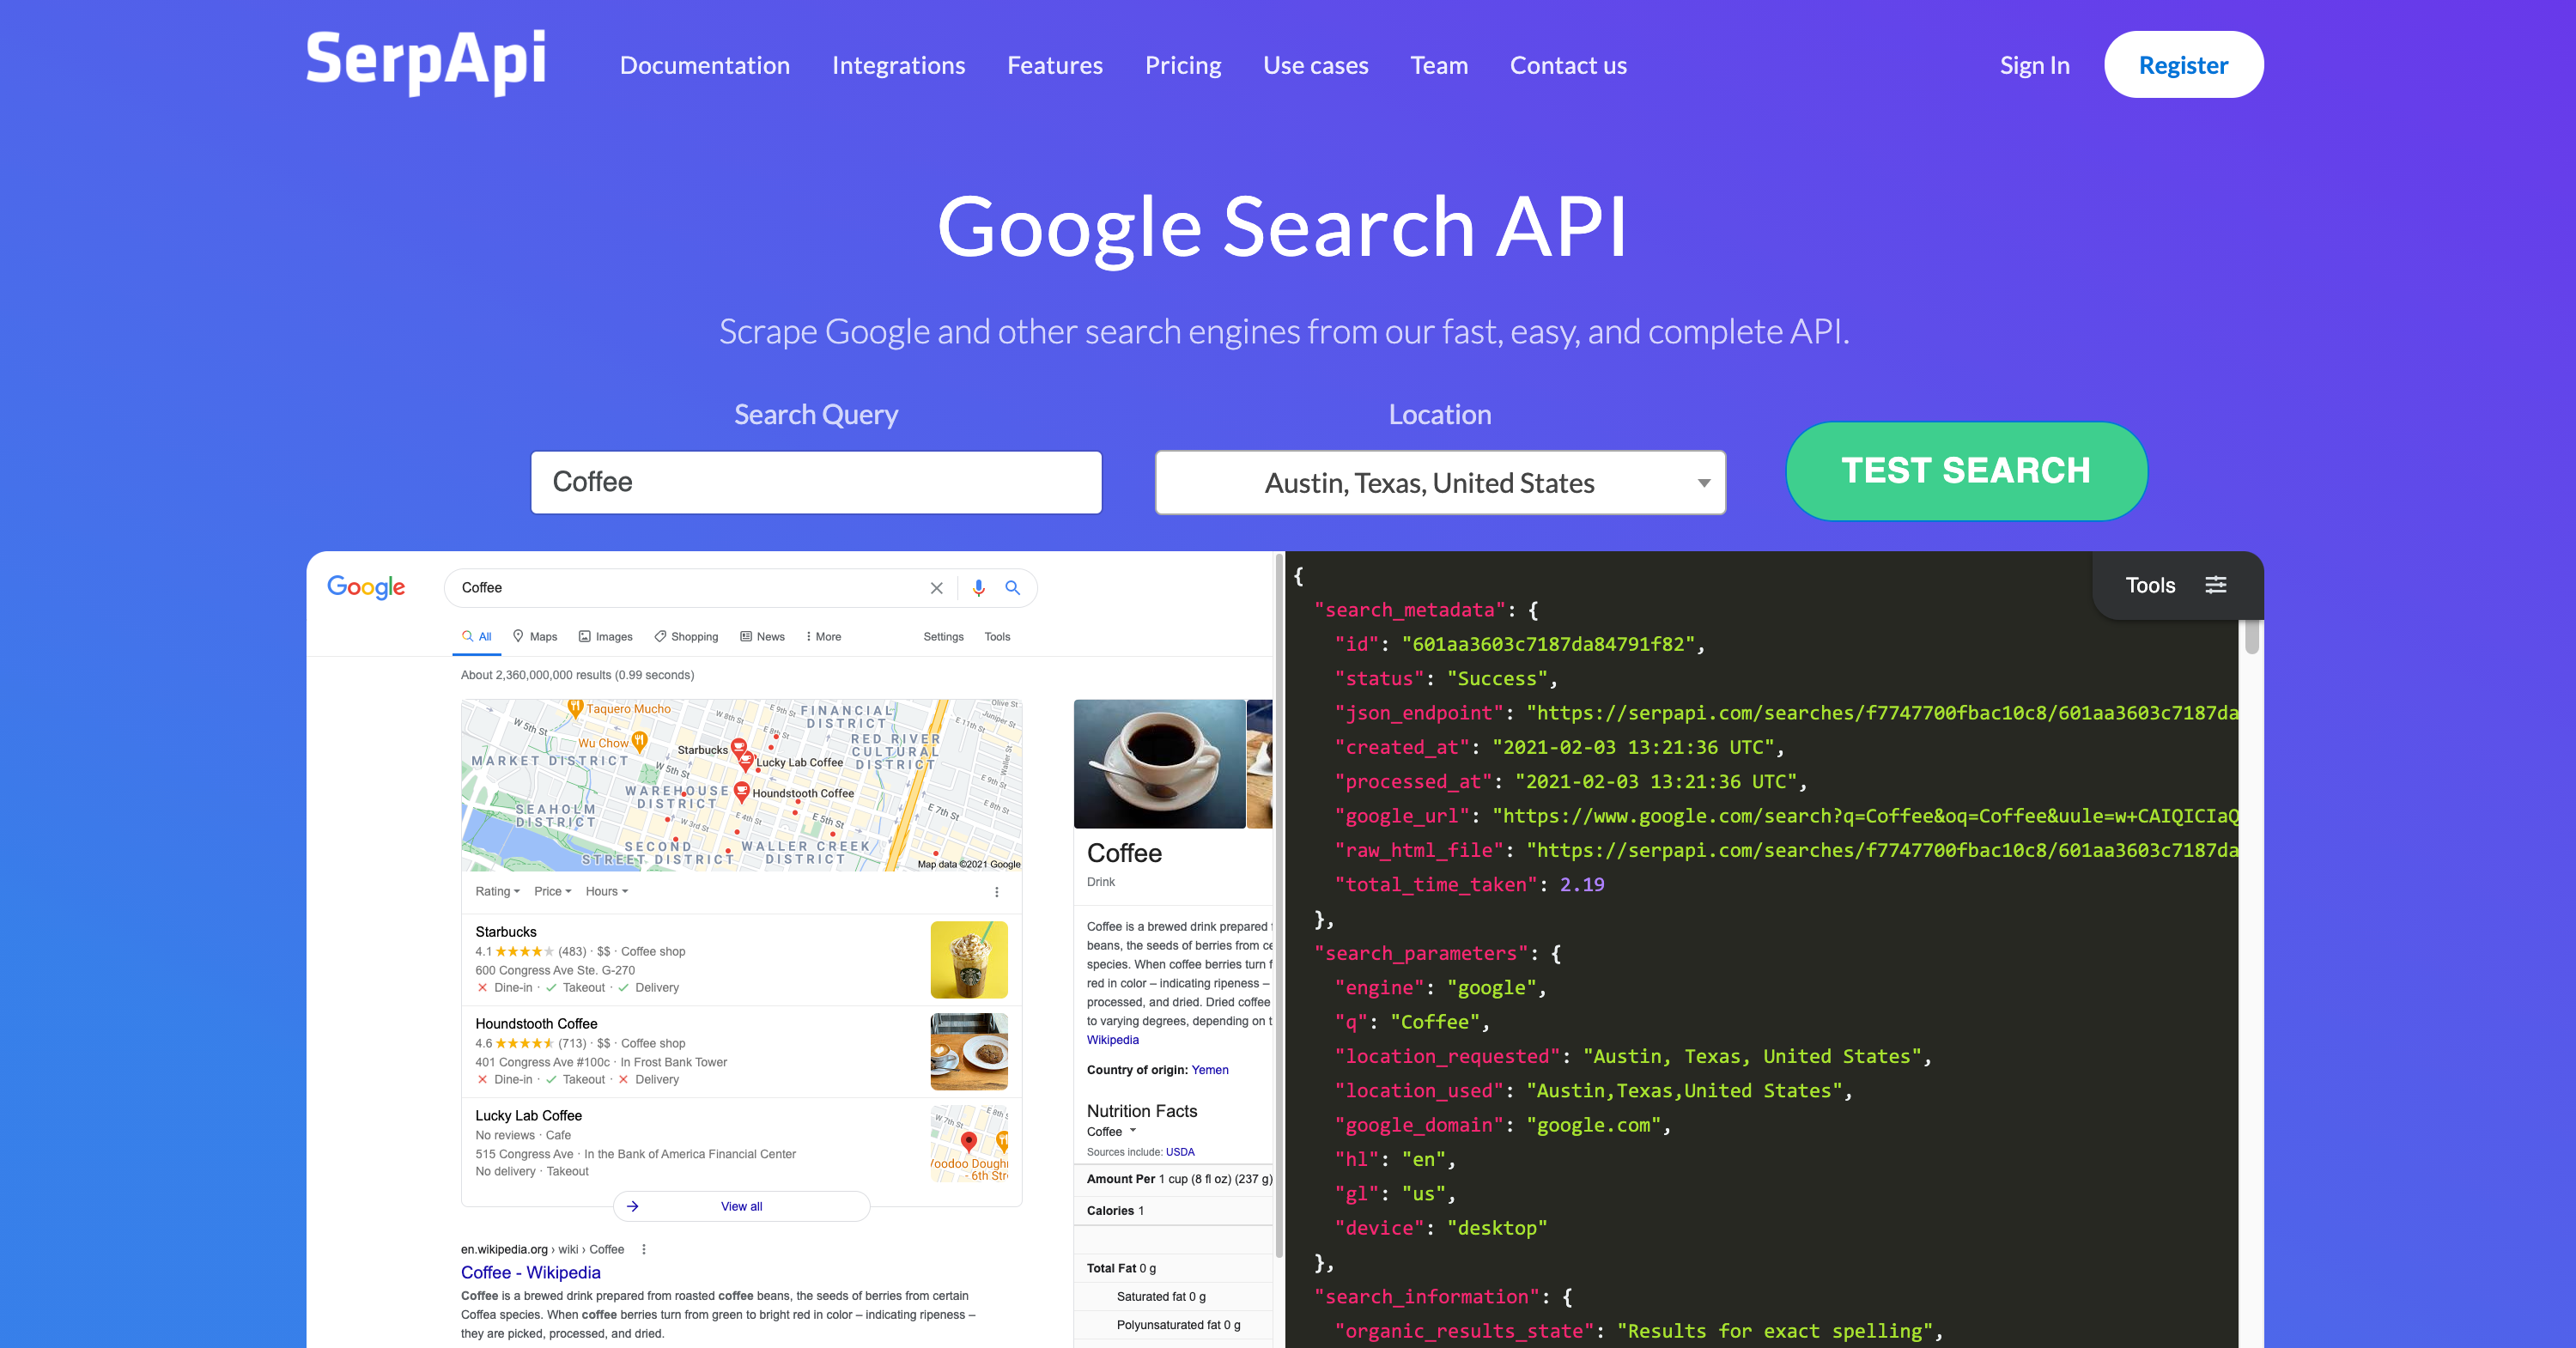
A great solution for connecting your software with the Internet.
Till the next time 👋


